Aligning models
There are several methods for aligning models to the grid. In the following, first a simple and then a more complicated method is presented.
1) Simple alignment
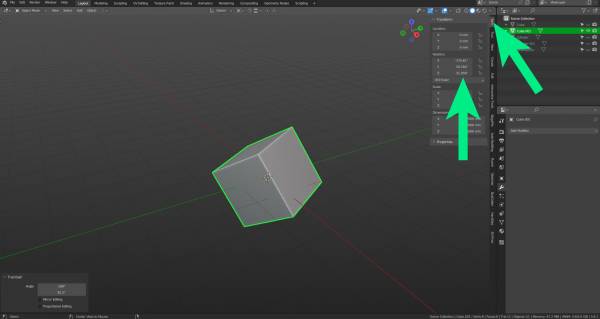
Often an object that is not aligned correctly can be corrected by opening the “Element” tab on the right-hand side and searching for the rotation values. Here we see that the values are rotated on all three axes, these can be set “to zero”. Simply select the value to be changed and enter 0.
2) Complex alignment
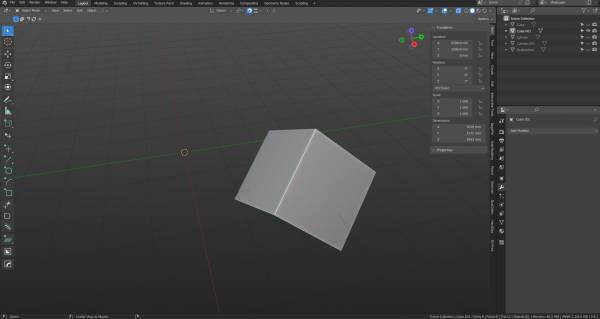
If we look at the rotation values of this cube, we can see that it shows 0 for all axes. This means that we need a way to find these values to bring it back to its original rotation.
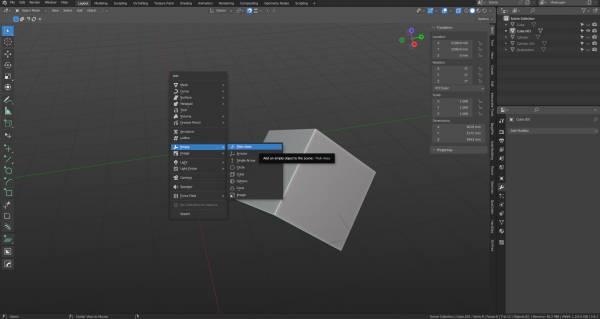
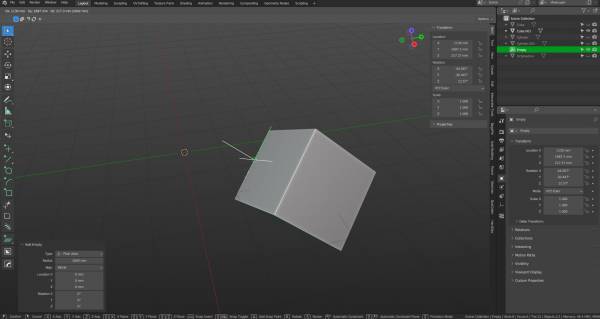
To do this we need an empty object (an 'Empty'), so press Shift + A and select empty → plain axis (an Empty is an invisible geometry normally used for operations like this).
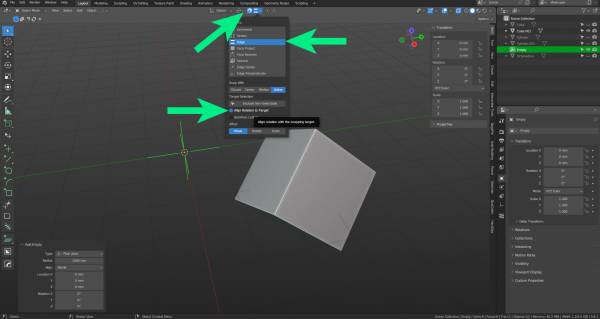
Next, switch on snapping (the magnet at the top), select the edge from the dropdown menu and then switch on “Align rotation to target”.
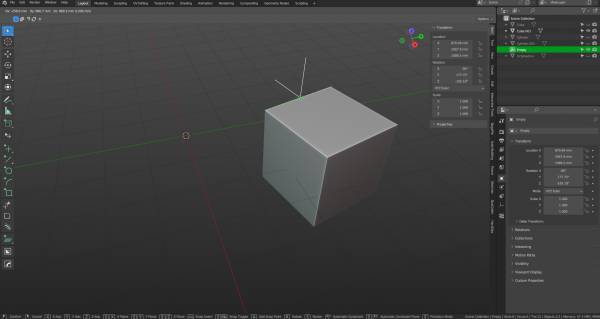
Select the empty object and press G to move it. By snapping it into place, it can snap to any edge of the cube. As soon as it is on the desired edge, clickplugin-autotooltip__default plugin-autotooltip_bigClick
Depending on the device, clicking is the user's action to select an element. On devices with a mouse, this means pointing at the element and pressing the left mouse button. For devices with a touchscreen, it is touching or touching and holding (iOS: long touch). In the to place it.
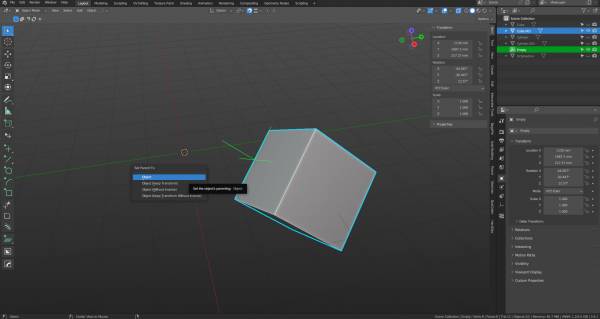
Select the empty object and hold down the Shift key to select the second cube. Press Ctrl + P and clickplugin-autotooltip__default plugin-autotooltip_bigClick
Depending on the device, clicking is the user's action to select an element. On devices with a mouse, this means pointing at the element and pressing the left mouse button. For devices with a touchscreen, it is touching or touching and holding (iOS: long touch). In the on “Object” to link the cube to the empty object. This will link the cube to the empty object and divide the rotation values.
The rotation tab now shows the rotation of the void, and since the cube is coupled to the void, we can move them together. Note: the empty cube does not snap to all axes, this is important for the next steps.
We can now simply align two of the axes. The third axis requires an additional step as the empty axis is not perfectly aligned with the Z-axis of the cube. If we were to omit this axis, the cube would visually remain slightly rotated.
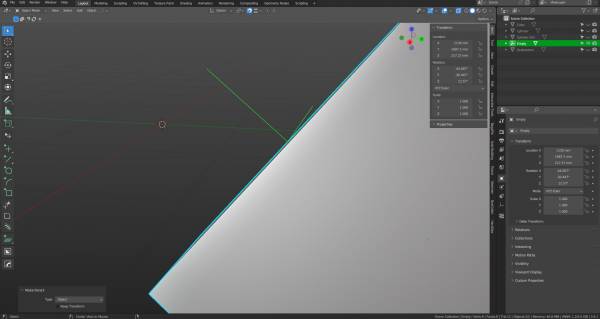
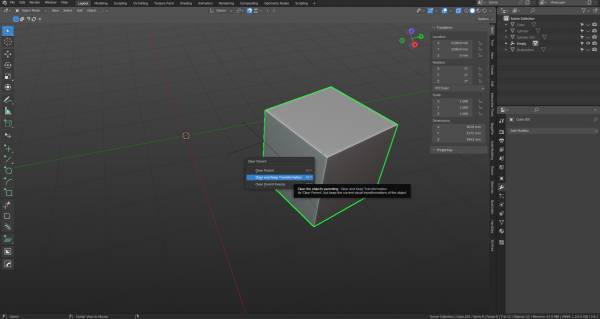
We remove the parent to repeat the process, press Alt + P and select “Remove parent and keep transformation”. This will apply the rotation to the cube.
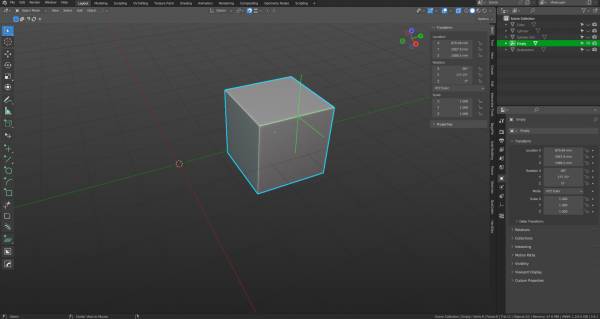
This time, align the empty cube with the top edge to get an accurate value on the z-axis. zero the z-axis
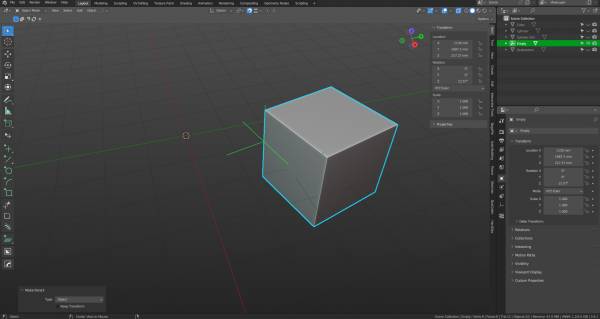
The empty cube was flipped when it was snapped to the edge, so technically the cube is upside down after zeroing. We can rotate it 180 degrees again if needed, as the cube is now square on the axes. When you are finished, press Alt + P to apply the transformation and cancel the parenthood.

