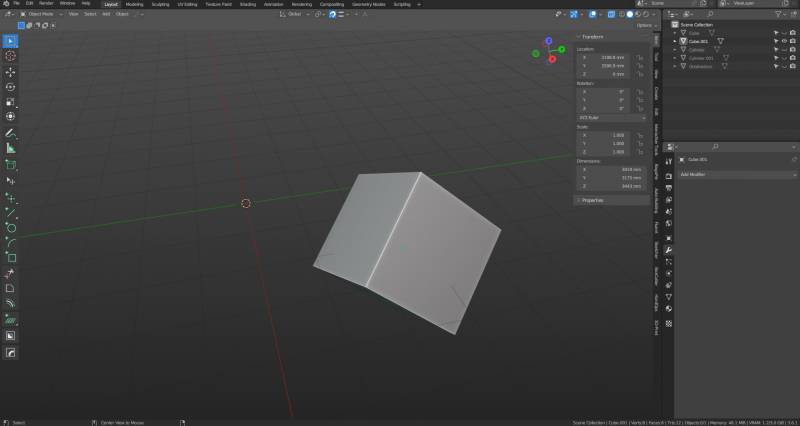
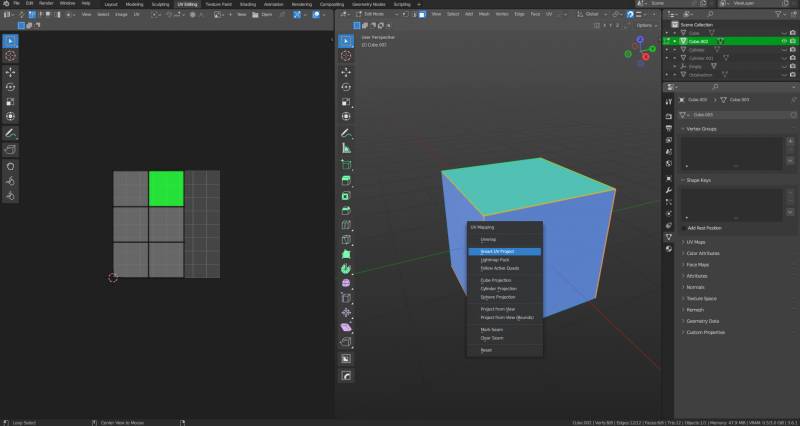
Set UV mapping
UV mapping is essentially a method of laying out the object flat in order to align texturesplugin-autotooltip__default plugin-autotooltip_bigTexture
A texture is an image that is displayed on the surface of a virtual body in order to change the surface properties such as colour, roughness, metalness, normal vectors and others. on it.
It is best to mark sharp edges for the sake of simplicity.
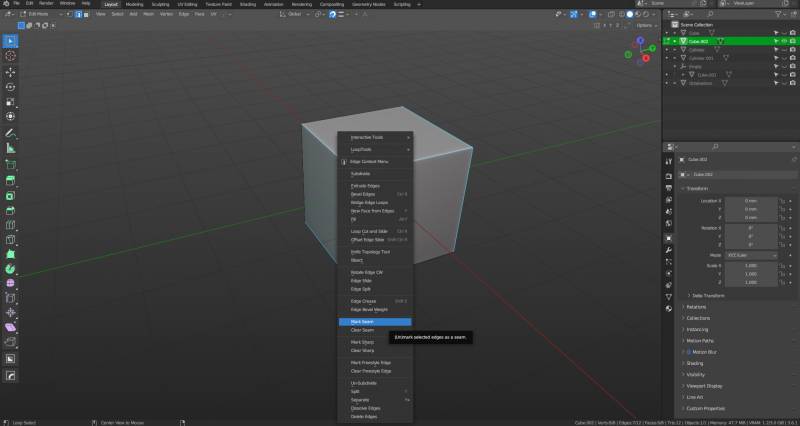
Go to the editing mode (tab) and select the edges (2 for edge selection) where the seams should be.
Right-clickplugin-autotooltip__default plugin-autotooltip_bigClick
Depending on the device, clicking is the user's action to select an element. On devices with a mouse, this means pointing at the element and pressing the left mouse button. For devices with a touchscreen, it is touching or touching and holding (iOS: long touch). In the on the desired edges and select “Mark seam”. This is the point at which the model is “split” in UV space and should be indicated by a different colour.
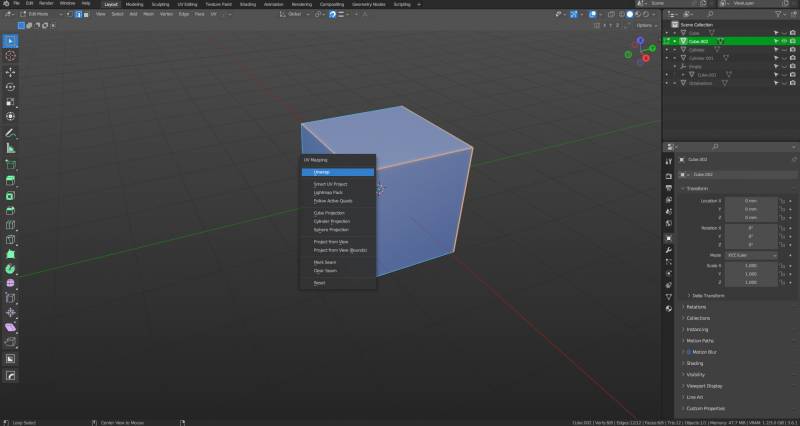
Press A to select everything on the object, then U and select either “Unwrap” or “Smart Unwrap”. Depending on the model, one or the other method will give better results. You can also use Smart Unwrap to set a cutoff angle for UVs, i.e. the angle that an edge may have before it is split on the UV map.
Also, an orthogonal or square UV map facilitates the process of texturing, so it is ideal to ensure that the unwrap results are like the ones mentioned above.
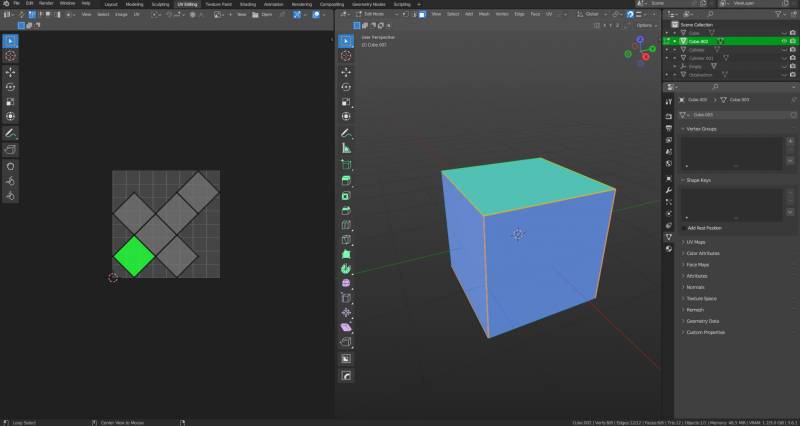
From the top row of tabs, select UV Editing. The left screen shows the unwrapped and essentially flattened object.
In contrast, this is the result of smart project. Note that the walls of the cylinder have been laid flat in one piece, while the ends are separate UV surfaces. This is again because the edges between the surfaces that form the wall of the cylinder, below the angle specified in the angle limit and the edges at both ends are 90 degrees - above above the angle limit.
Note: This result (cylinder wall unrolled in one continuous piece) is ideal for most texturesplugin-autotooltip__default plugin-autotooltip_bigTexture
A texture is an image that is displayed on the surface of a virtual body in order to change the surface properties such as colour, roughness, metalness, normal vectors and others. as it produces the lowest possible number of noticeable edges in the textureplugin-autotooltip__default plugin-autotooltip_bigTexture
A texture is an image that is displayed on the surface of a virtual body in order to change the surface properties such as colour, roughness, metalness, normal vectors and others..
It is also important that the results are orthogonal or square so that the texturesplugin-autotooltip__default plugin-autotooltip_bigTexture
A texture is an image that is displayed on the surface of a virtual body in order to change the surface properties such as colour, roughness, metalness, normal vectors and others. are displayed in the correct orientation.

