Smoothing
Smoothing operations should be performed as the last step to prepare the model for visualisation in VRplugin-autotooltip__default plugin-autotooltip_bigVirtual reality (VR)
Virtual reality (VR) is a computer-generated, interactive environment in which a person can fully immerse themselves. With the help of special devices such as VR glasses, the real world is completely replaced by a simulated one. The user experiences a three-dimensional, artificial environment that can appeal to all the senses..
Vertex smoothing
This operation simply attempts to average the distances between the vertices to create a smoother surface.
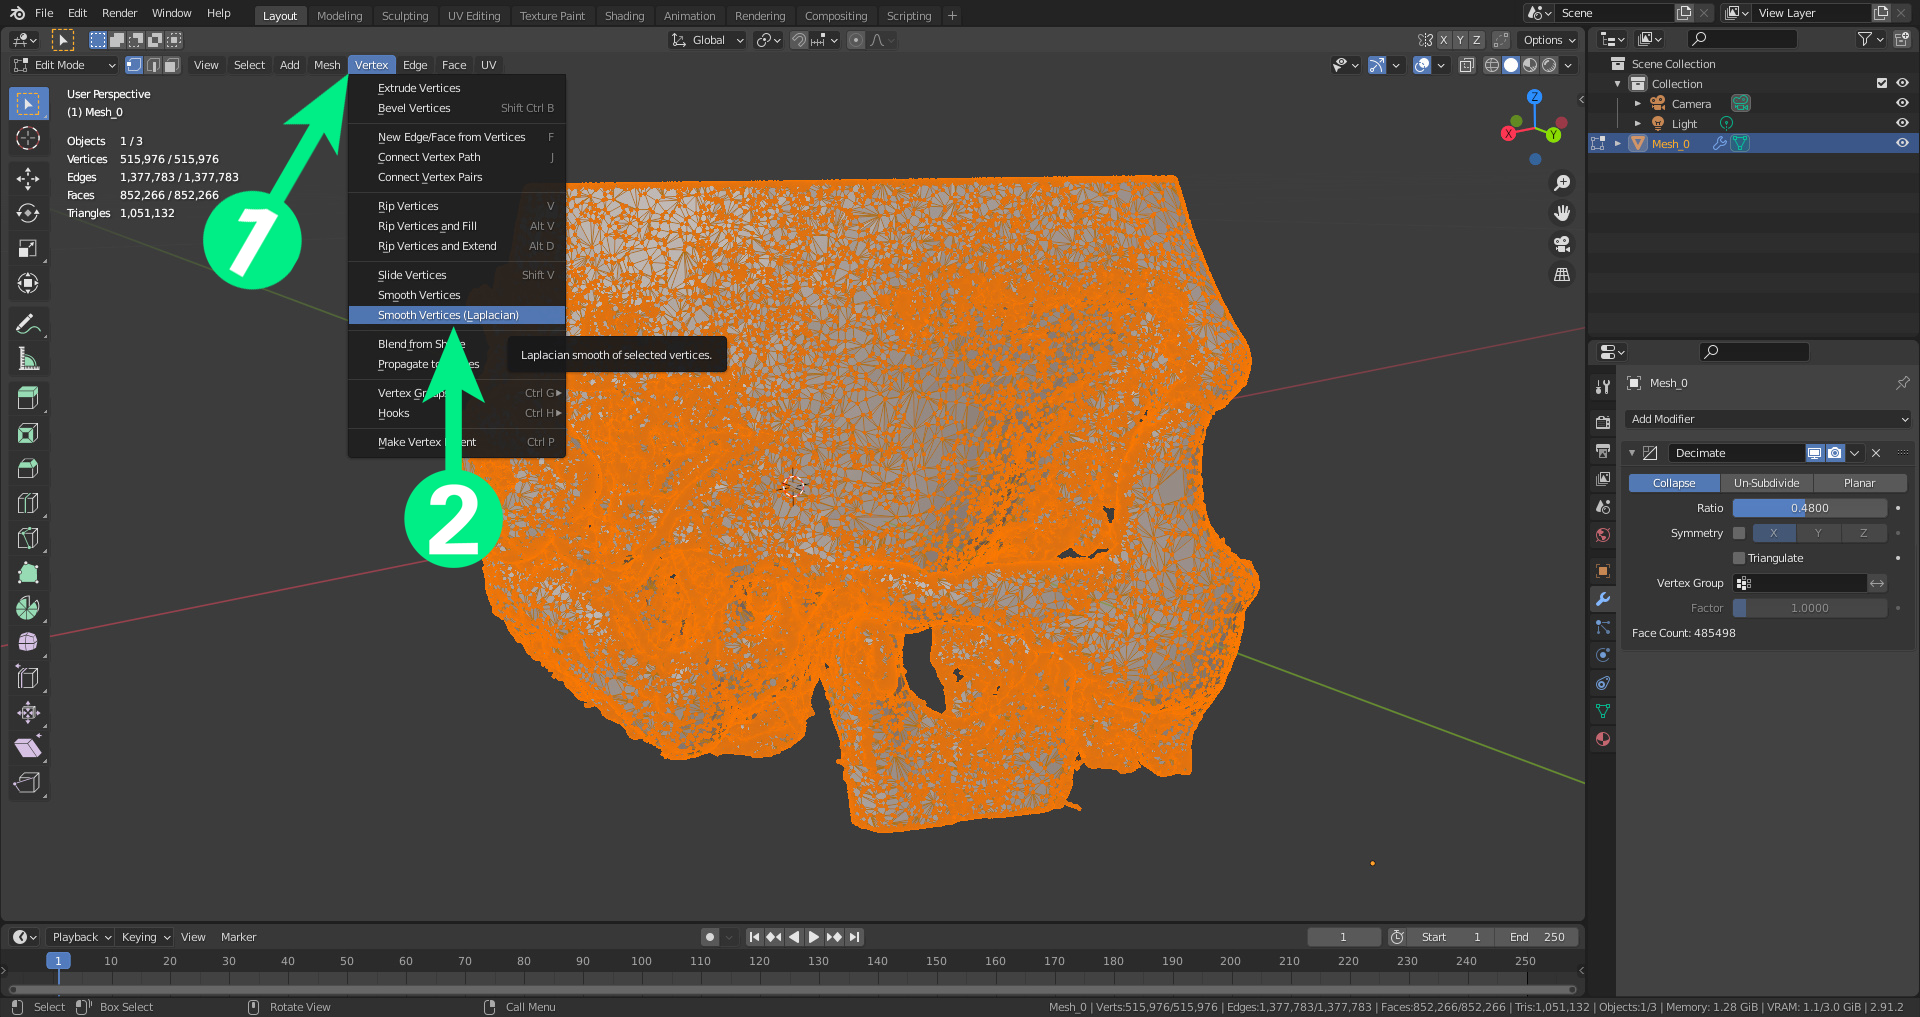
Select all (A) and navigate to Vertex (1). There are several smoothing options here (2).
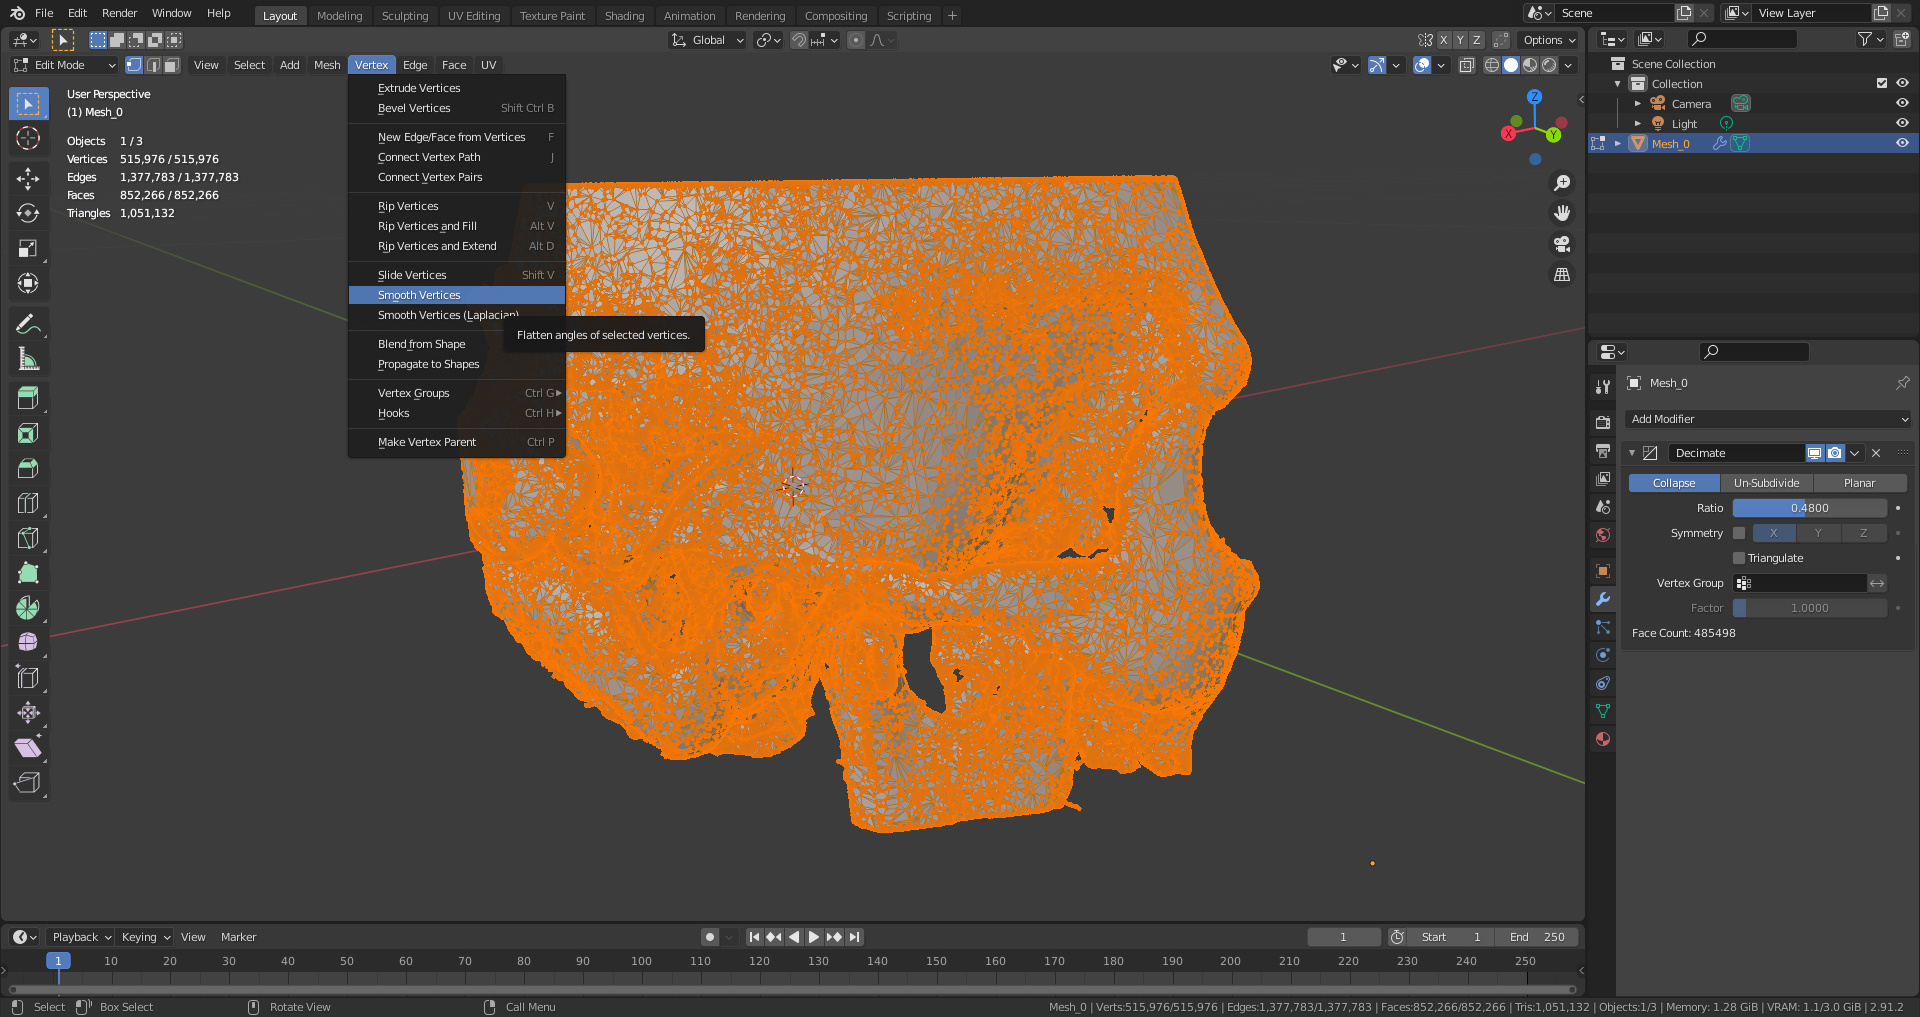
Both smoothing options lead to different results and it is necessary to experiment to find the desired result.
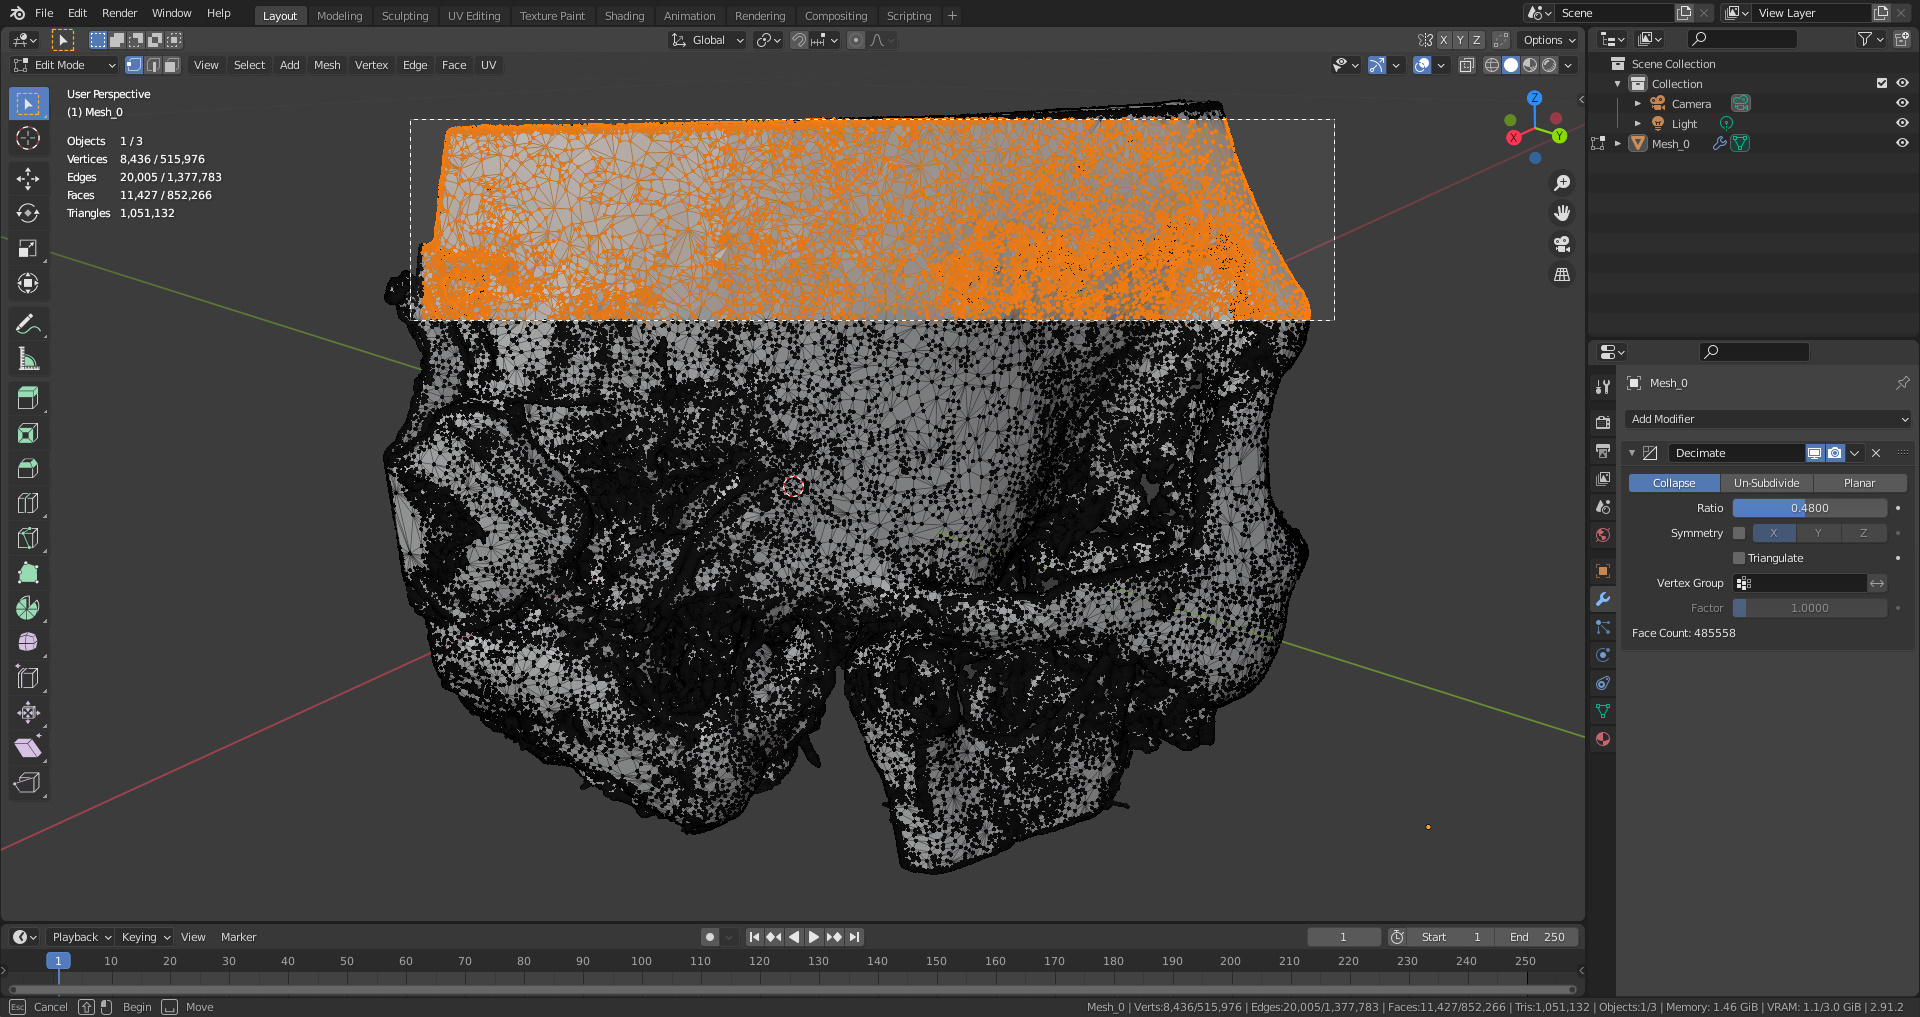
On some computers, smoothing all vertices at once will cause Blender to crash. Alternatively, some areas do not need to be smoothed. It is possible to select a section with the cursor in edit mode and smooth these areas independently of each other.
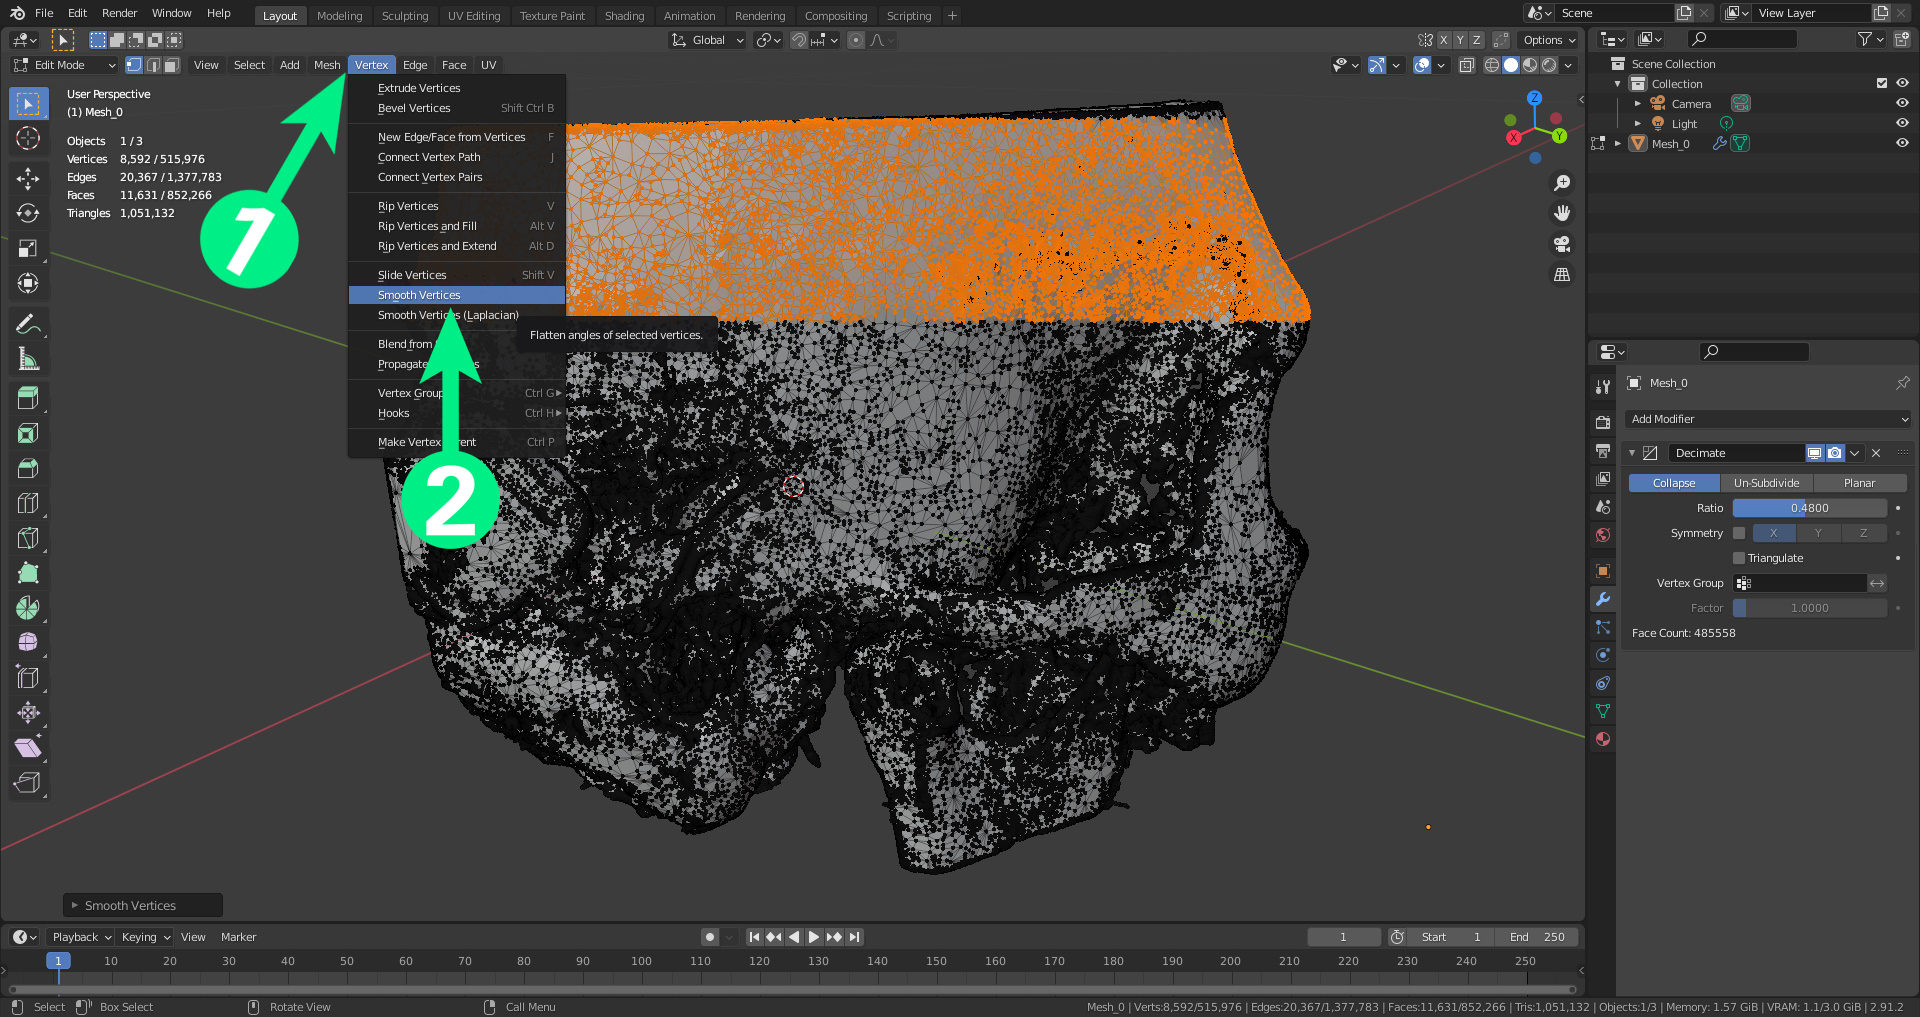
Once you have selected an area, navigate to Vertex (1) and then smooth the vertices (2).
Smoothing faces
Another operation for smoothing surfaces, this operation rearranges faces to try and get a less degenerate geometry.
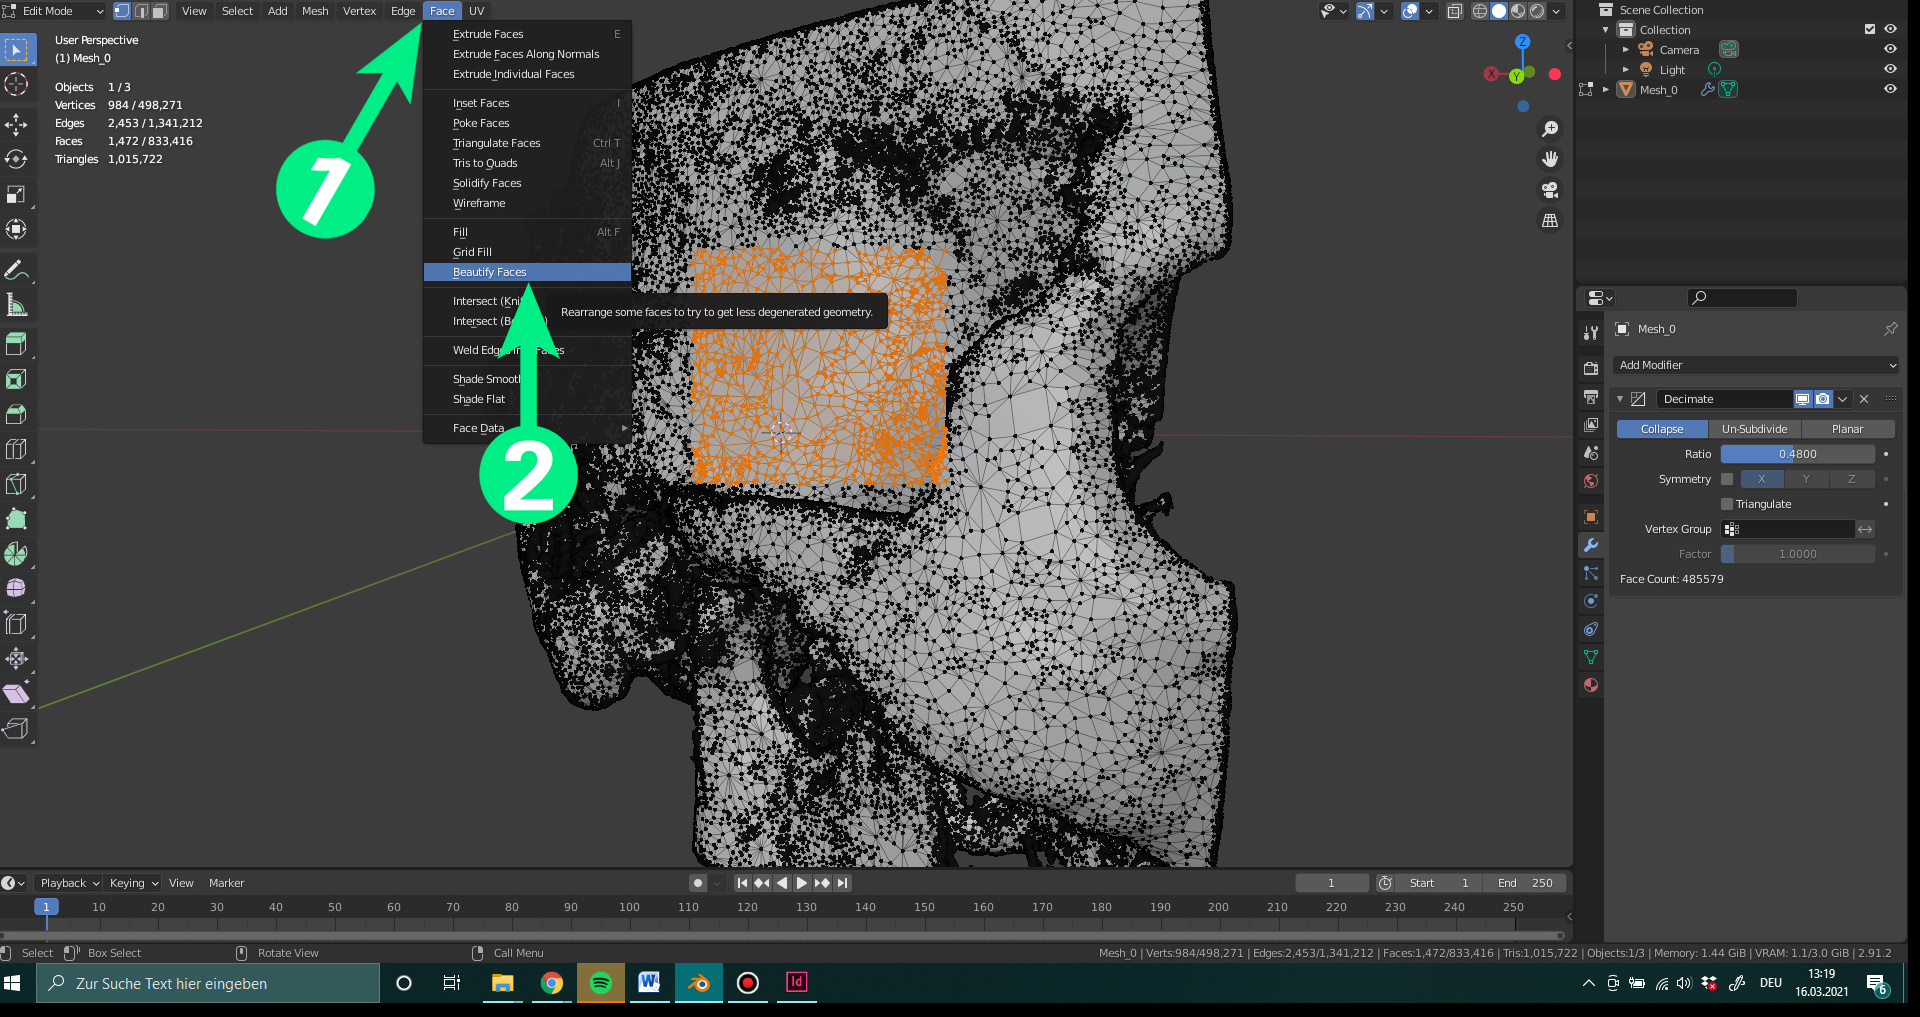
Select a surface (1) and then smooth the surfaces (2).
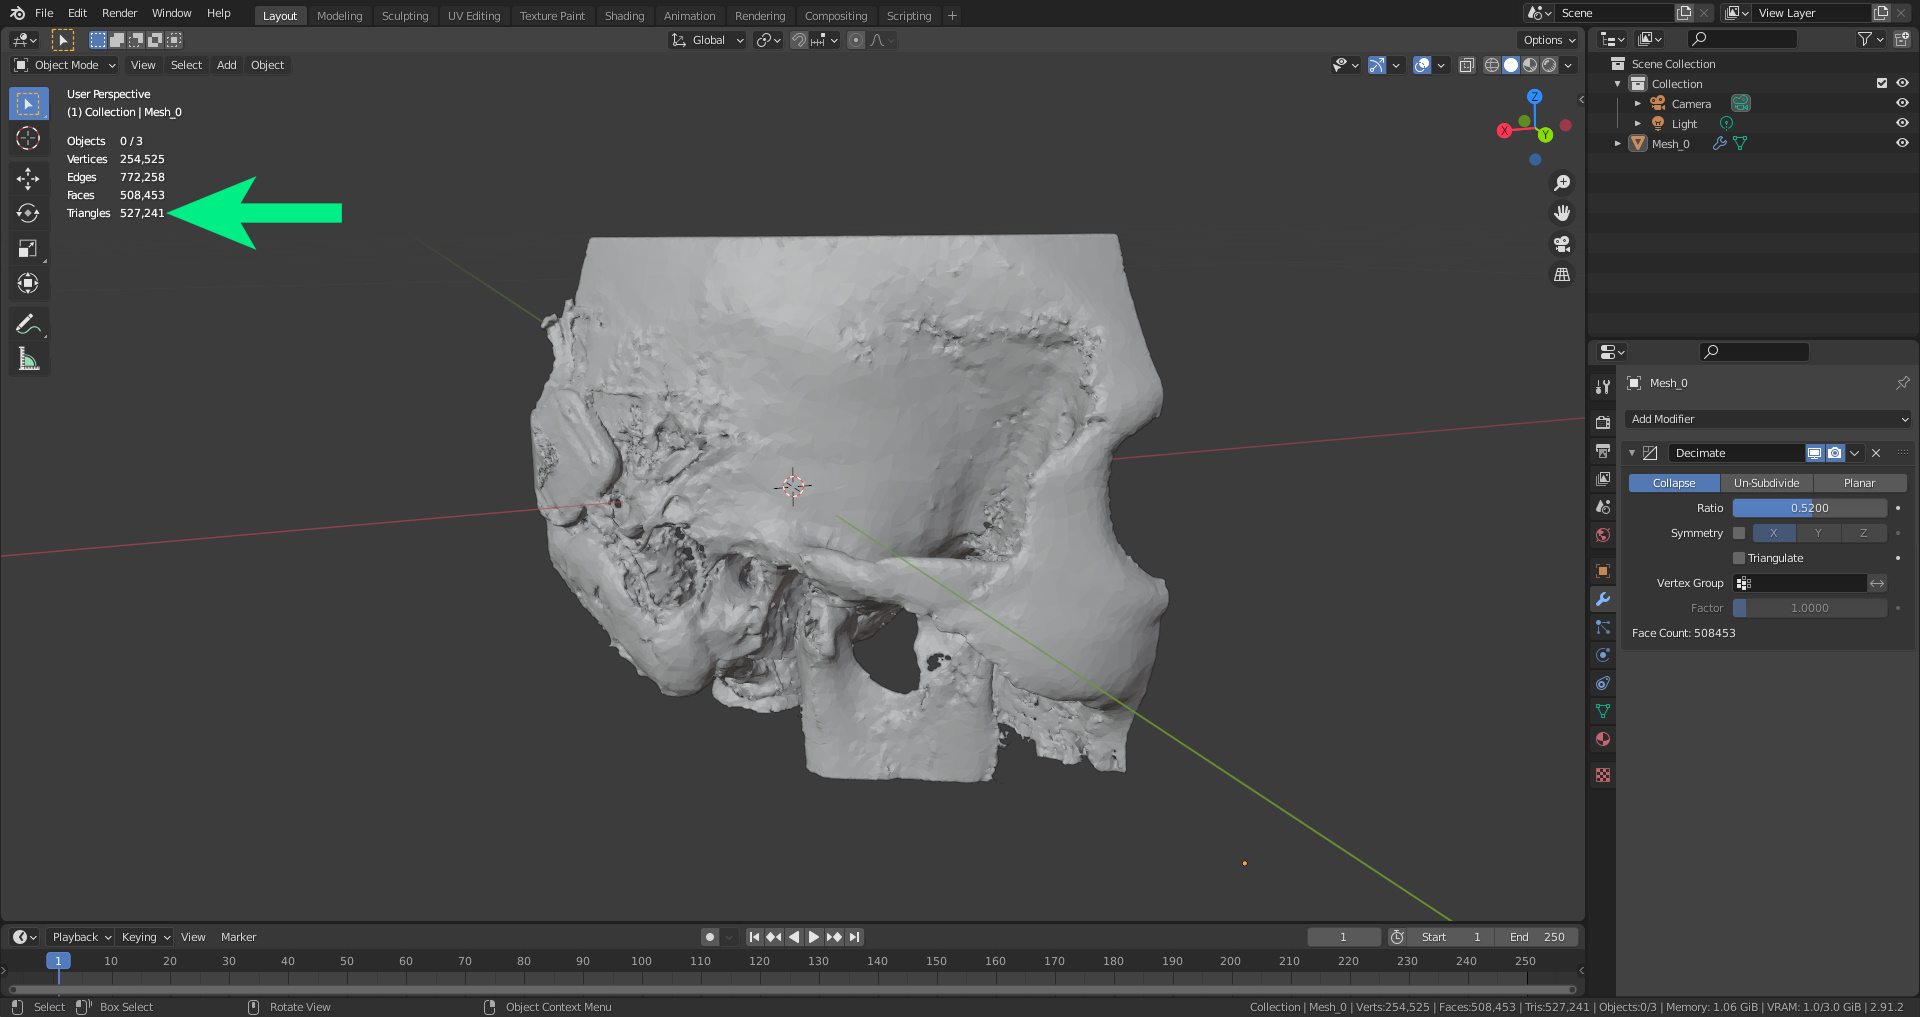
Although the model has been greatly reduced in terms of polygon count and complexity, the outer surface is still quite smooth.
Shade Smooth
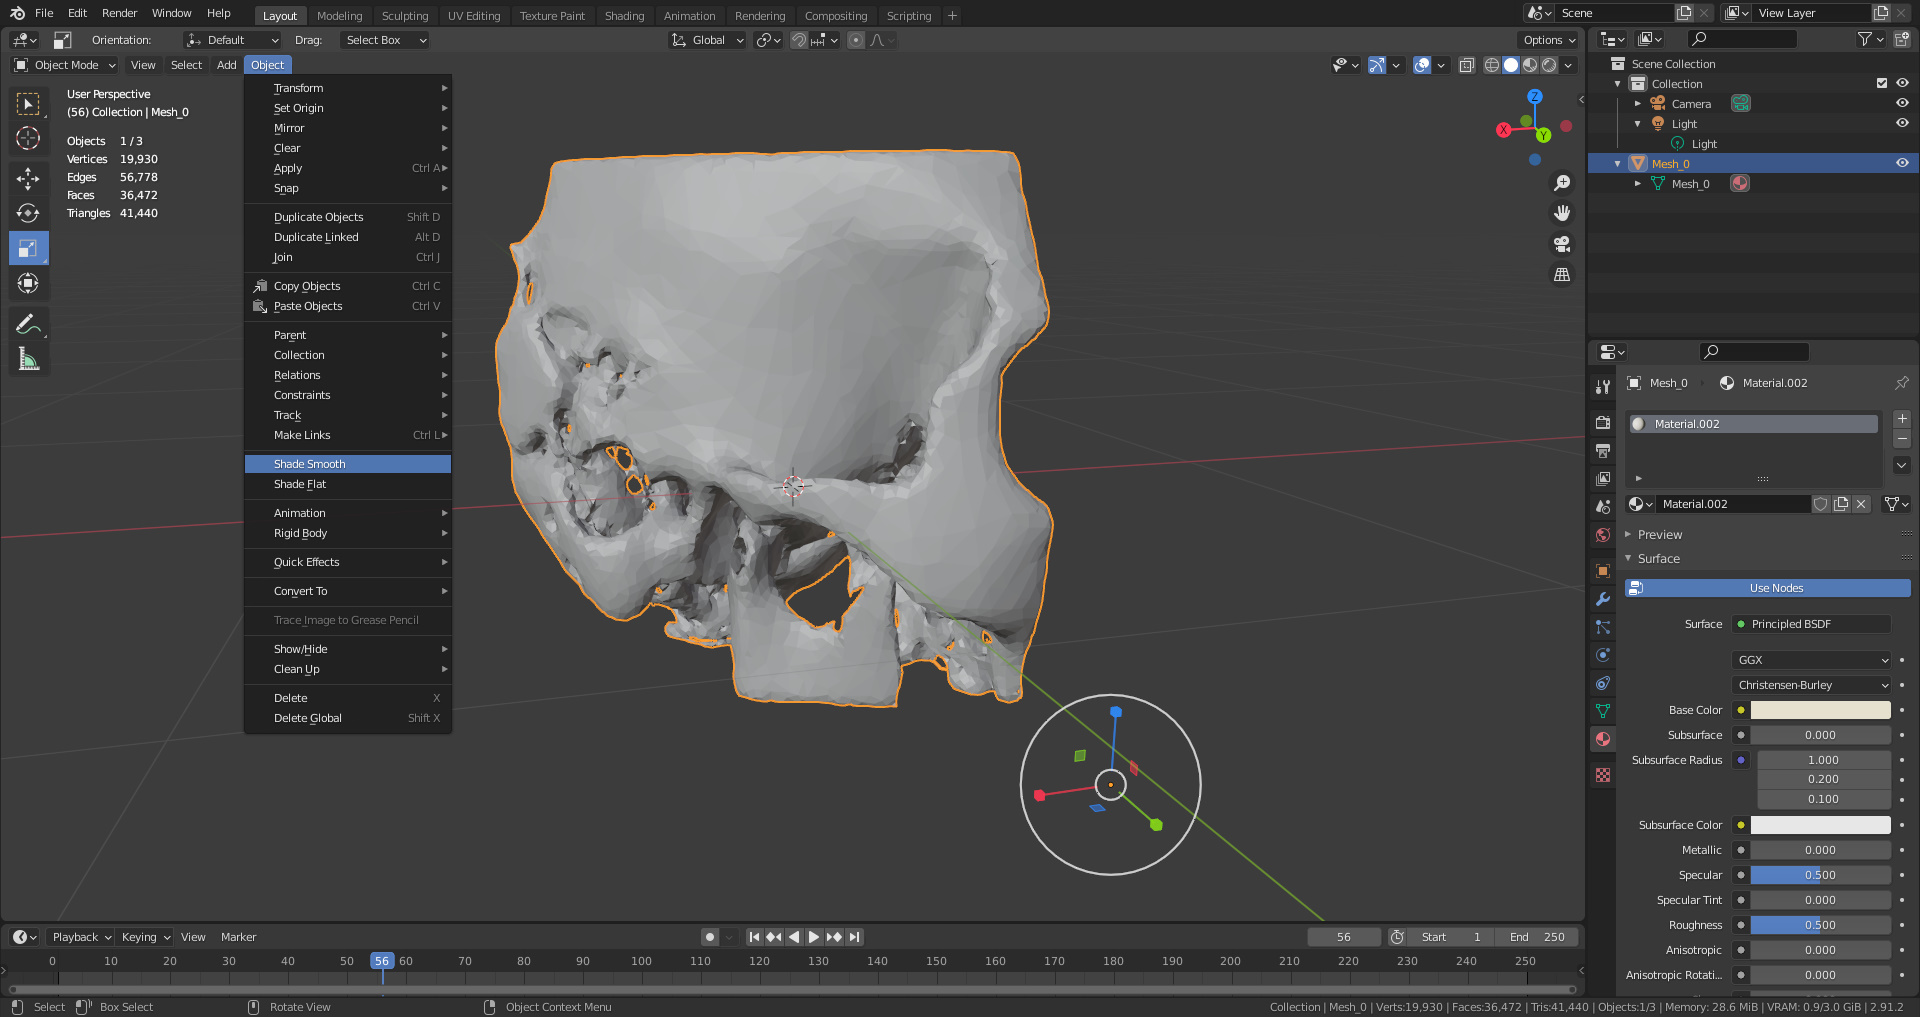
The “shade smooth” option is located under Object. This creates an even, smooth outer surface and reduces the CPU load. This can be switched off by selecting “shade flat” in the same menu.

The final shaded model has a smooth surface.
It can happen that models do not react to a change in this setting, as can be seen here.
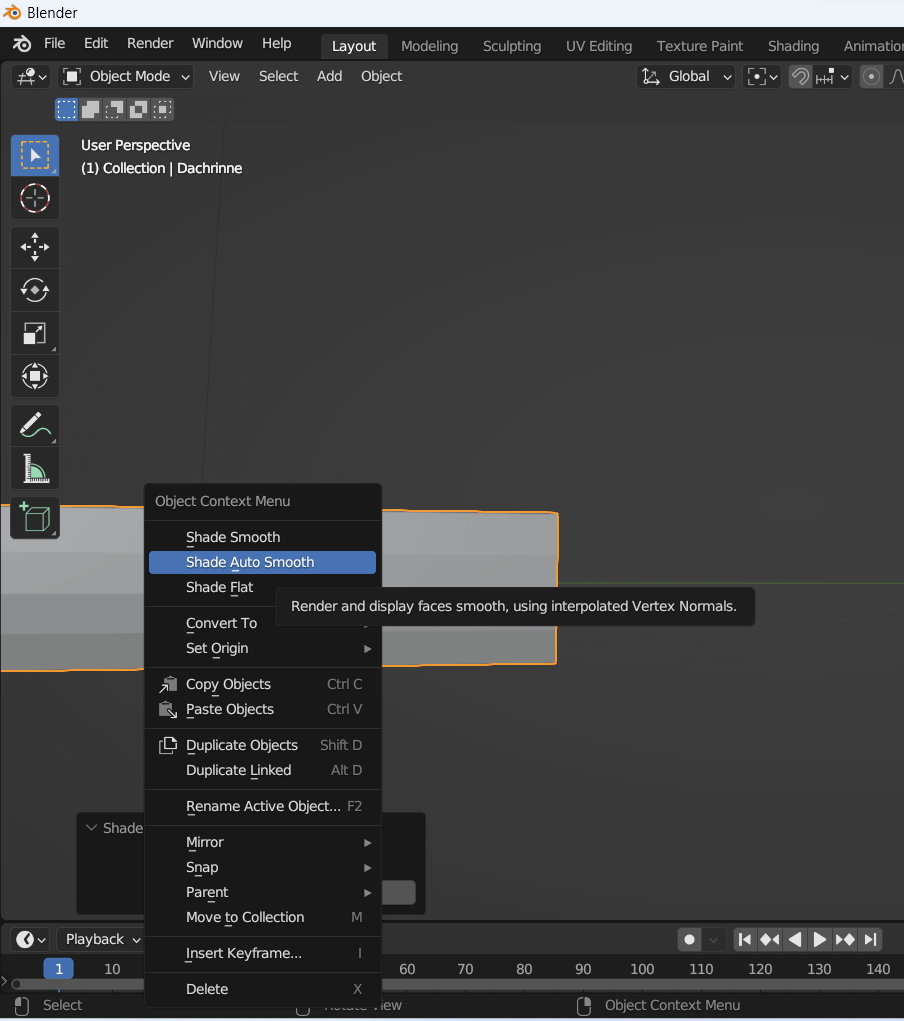
One reason may be that the surfaces are not connected to each other. To join the surfaces together, select the surfaces together in Edit mode and use M for Merge to execute Merge by Distance. The connected surfaces can then be displayed smoothed.