This is an old revision of the document!
===== =====Quick Start Guide Once you have booked a Visualizer licence plan (https://vrdoro.com/pricing/) you will receive, depending on the licence:
- access to an area for your surveying and visualisation projects, or
- a 3D configurator for your product
We have summarised this information for you here:
Table of Contents
Setting up the headset
If you still need to set up your headset, follow the instructions at Setting up the headset.
Headset functions
Please watch the Tips for the headset and follow the recommendations given.
Video tutorial
The following video is a step-by-step guide. It shows you how to open the visualiser in the headset for the first time. If you do not Pen controller as shown in the video, you can also use the Standard controller.
You can find further information on the steps shown in the video below.
Your projects
If you’ve booked a single 3D configurator without a survey, you can bedienung_in_mixed-reality_mr.
When you book a Lizenz you will receive a certain number of projects, depending on your licence plan. The projects contain the tools you have booked. All the data you collect is stored within these projects. For the measurement tools, this includes, for example, the measurement results.
Logging in to the vrdoro-editor
The vrdoro-visualiser is a web platform that you can access via URLs. The vrdoro-editor is the project management tool. You use this to manage and open your visualiser projects.
To do this, log in here on your desktop computer or laptop using a Chrome browser: https://vrdoro.com/editor/
Once you’ve logged in, you’ll see information about your licence and projects on your dashboard:
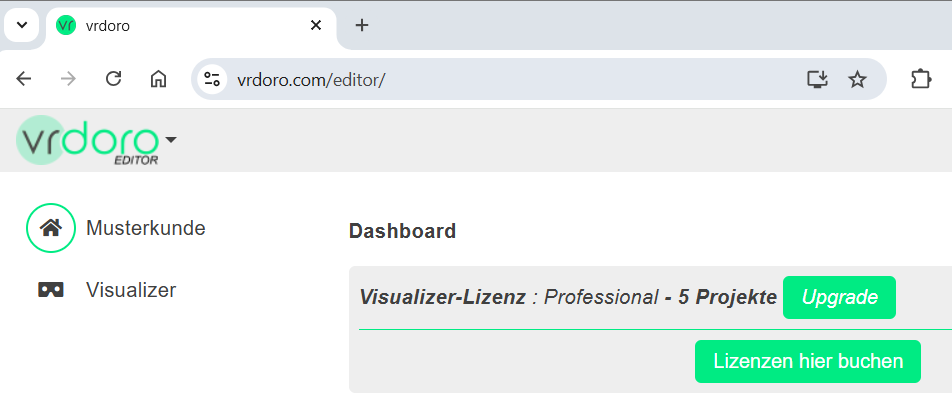
(Clickplugin-autotooltip__default plugin-autotooltip_bigClick
Depending on the device, clicking is the user's action to select an element. On devices with a mouse, this means pointing at the element and pressing the left mouse button. For devices with a touchscreen, it is touching or touching and holding (iOS: long touch). In the on the image to enlarge it)
=== === project overview
When you select the menu item visualizer you’ll see your projects and can open one by selecting it.
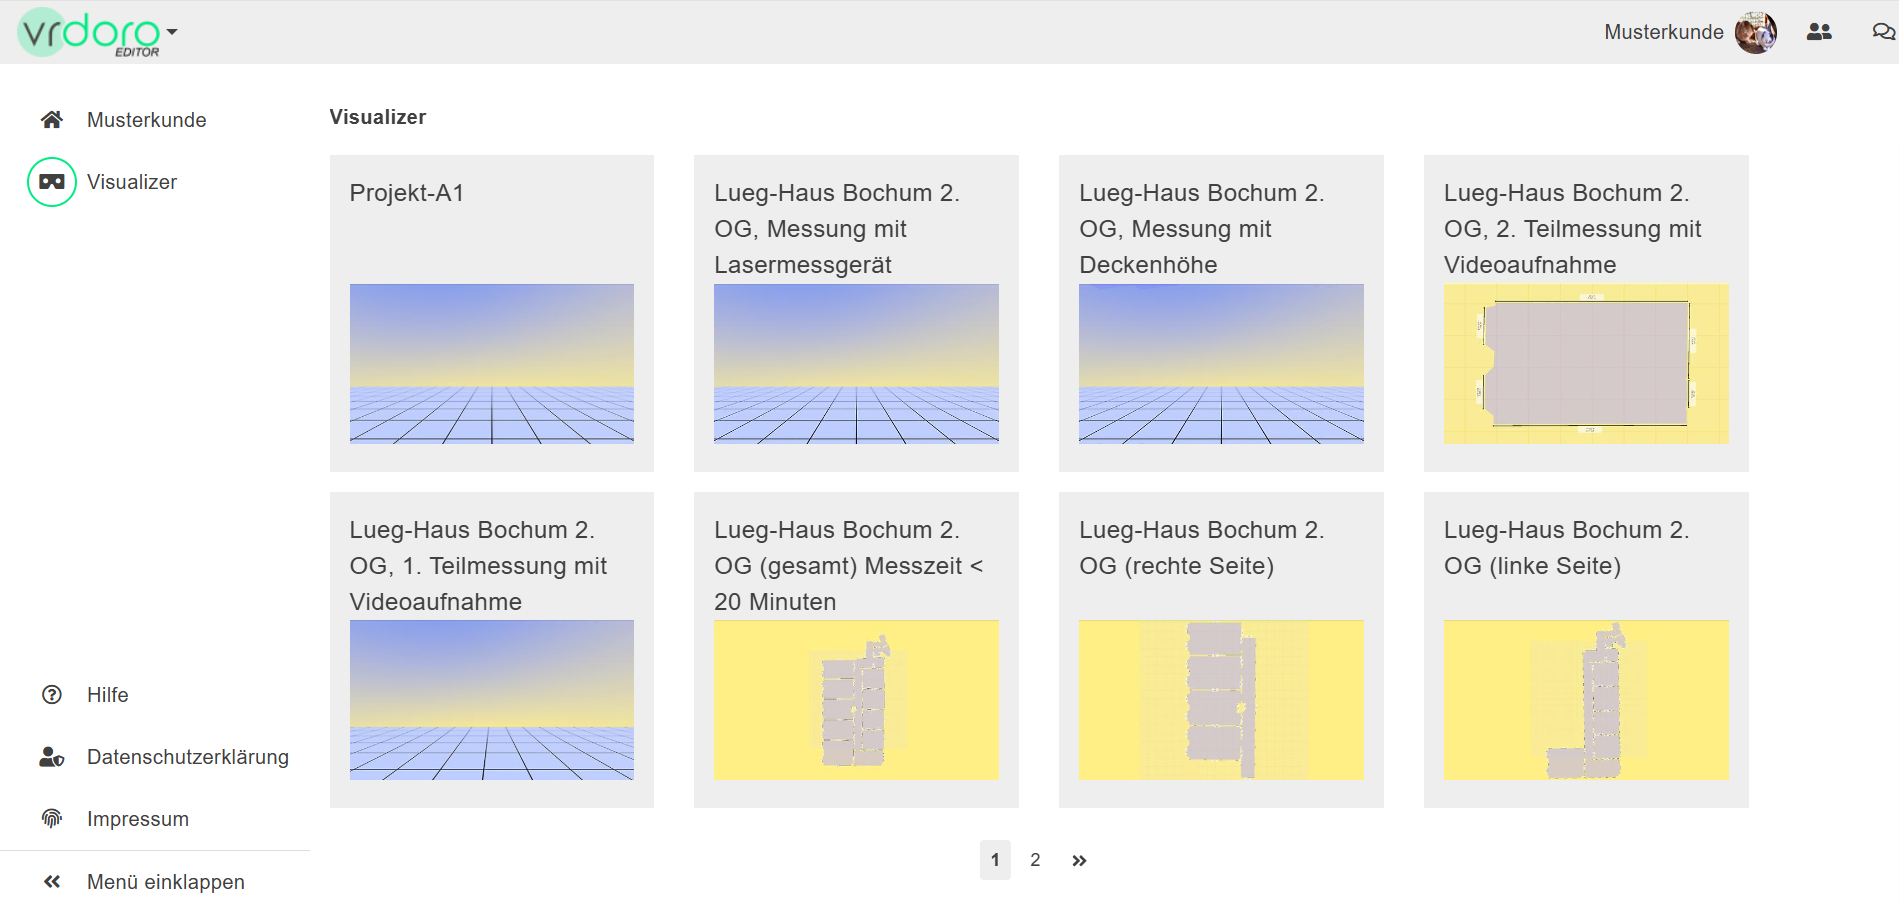
(Clickplugin-autotooltip__default plugin-autotooltip_bigClick
Depending on the device, clicking is the user's action to select an element. On devices with a mouse, this means pointing at the element and pressing the left mouse button. For devices with a touchscreen, it is touching or touching and holding (iOS: long touch). In the on the image to enlarge it)
Viewing projects in the headset
To view a project in the headset, follow these steps:
- Log in to https://vrdoro.com/editor/
- Select a project
Create bookmarks for these URLs in the headset browser.
Once you’re logged in, you can also, from your desktop computer, use the Share icon 
Web Launch to open the project directly in the headset browser.
Operating in Mixed Reality (MR)
In Mixed Reality, you see your surroundings through the headset’s cameras whilst wearing the headset. Virtual objects are also displayed. Any virtual objects without transparency will obscure the real-world view, regardless of their virtual distance.
Getting started with Mixed Reality
To access the Mixed Reality view from within your project, there is often a ‘Get started now’ button. If this is not available – as is the case with the configurators, for example – you can clickplugin-autotooltip__default plugin-autotooltip_bigClick
Depending on the device, clicking is the user's action to select an element. On devices with a mouse, this means pointing at the element and pressing the left mouse button. For devices with a touchscreen, it is touching or touching and holding (iOS: long touch). In the the glasses icon in the Menu bar. Then select ‘Start MRplugin-autotooltip__default plugin-autotooltip_bigMixed Reality (MR)
Mixed reality, often referred to as mixed reality, is a technology that combines the physical world with computer-generated elements in real time. In contrast to pure virtual reality, in which the user is completely immersed in a digital world, and augmented reality, in which digital elements are superimposed on the real world, mixed reality enables interaction between real and virtual objects. As a rule, the user sees the real world, recorded by cameras, as an image of their…’ in the dialogue box.
As there is no limit (see here), you’ll see a message from the headset at the start “Create new free-space boundary?”. Simply ignore this; the prompt will disappear after about 10 seconds.
Switching between the MR tool and the browser
To switch between the Mixed Reality view and the browser in the headset , press twice briefly (as if double-clickplugin-autotooltip__default plugin-autotooltip_bigClick
Depending on the device, clicking is the user's action to select an element. On devices with a mouse, this means pointing at the element and pressing the left mouse button. For devices with a touchscreen, it is touching or touching and holding (iOS: long touch). In theing) on the  Meta button on your controller.
Menu and Help section
The menu operation differs between Headset controller pen-controller and . Standard Controller You open the menu using the Menu button on the left== ==Headset controller. Select menu items using the laser beam on the right-hand controller: they will be highlighted. When you select an item using the button beneath your index finger on the right-hand controller, you trigger the action.
 Opening the menu: Briefly press the menu button on the left-hand controller to display the menu.
Hide the menu: Briefly press the menu button on the left-hand controller to hide the menu.
Selecting a menu option: Point the laser beam on the right-hand Headset controller at the menu item and briefly press the front button with your index finger.
== == pen controller
The menus and the help section, as well as all dialogue boxes that appear in front of you in MRplugin-autotooltip__default plugin-autotooltip_bigMixed Reality (MR)
Mixed reality, often referred to as mixed reality, is a technology that combines the physical world with computer-generated elements in real time. In contrast to pure virtual reality, in which the user is completely immersed in a digital world, and augmented reality, in which digital elements are superimposed on the real world, mixed reality enables interaction between real and virtual objects. As a rule, the user sees the real world, recorded by cameras, as an image of their…, are operated using the front button on the Pen controller
:
Opening the menu: Press the front pen button briefly to display the menu.
Hide the menu: Point the laser beam not at the menu and briefly press the front pen button.
Select a menu item: Point the laser beam at the menu item and press the front pen button briefly.
When using the Pen controller , the following applies:
- Every dialogue (menus, confirmation dialogues, selection of tools and texturesplugin-autotooltip__default plugin-autotooltip_bigTexture
A texture is an image that is displayed on the surface of a virtual body in order to change the surface properties such as colour, roughness, metalness, normal vectors and others.) that appears on screen is operated using the front pen button - Every other action is performed using the rear pen button (not the Meta button)
Basic functions of the help
You can find out more about using the help in the menu here: Help display
You always access the Help section and all dialogue boxes using the front button on the Pen controller . All other actions, such as working with the position markers, are controlled using the rear button.
Voice control
All menu items can be selected via voice control, even without opening the menu: to do this, activate voice input using the middle side button on the Pen controller .
The voice commands correspond to the tooltips in the menu. You can get an overview by saying “What (can I say)?”
MR Tools
Using position markers
Position markers are used in all measurement tools. The video demonstrates:
- how to set position markers
- how to open the context menu
- how to record position markers
Using a tool multiple times in a project
Each tool can be added multiple times within a project. Example: You want to measure a floor using the ‘Room Measurement’ tool. There are two ways to do this.
Measuring a floor: in one go
When measuring, you go through all the rooms one after the other. You always move in one direction, either clockwise or anti-clockwise (i.e. always to the right or always to the left). This gives you a single, contiguous space for the entire floor:
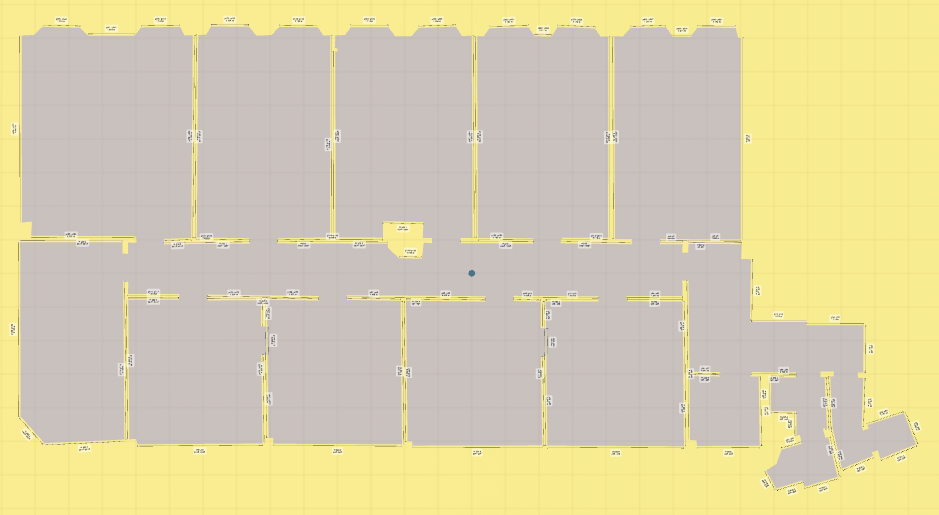
Advantages:
- Simple
Disadvantages:
- All data is collected without distinguishing between rooms
- You cannot measure different room heights or floor levels
- You can only visualise one type of floor covering
Surveying a floor: room by room
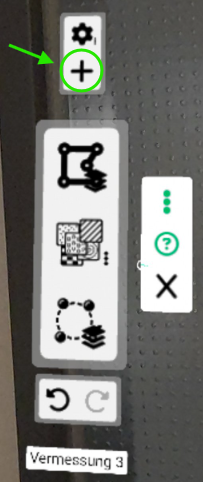
You measure one room and then – from the main menu, as shown in the image – add the next room using the ‘+’ icon in the main menu. The tool is activated straight away and you can then measure that room. You can now switch between these rooms and view all the data separately.
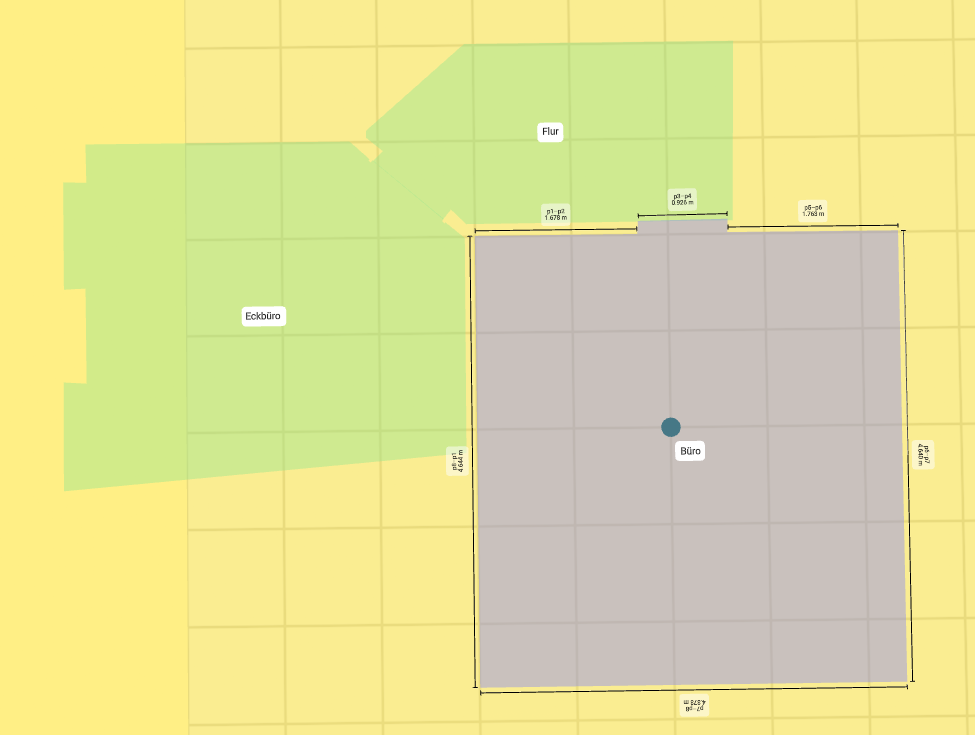
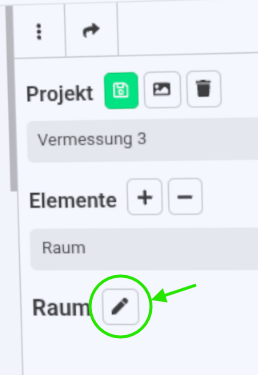
Tip: Give each room a different name so you can find your way around more easily.
Advantages:
- Separate data for each room
- Different room heights and floor levels
- Visualisation of different floor coverings
Disadvantage:
- Requires a few more steps to insert the rooms
Conservatory
Positioning with the standard controllers
Using the Standard controller headset, you can position the conservatory using the green or yellow cylinders:
Positioning with the pen controller
With the Pen controller for precise measurement, you can position the conservatory exactly using the tip of the pen.