This is an old revision of the document!

Display of laser measurements
If laser measurement is activated, horizontal lines are displayed between every two Position markers are displayed. The lines form a rectangle: one horizontal line is at the height of each position marker.
The lines show the distance of the position markers or their projection on the floor. Here is an example: D: 4.678 m
When measuring with the laser measuring device, there may be inconsistencies in the measured distances. In this case, the value displayed on the measuring line may deviate from the measured value. This is because the system calculates which position the markers must occupy so that the deviation of all measured distances is the smallest. The deviation is displayed if it is greater than 2 mm. The three distances with the largest deviations are coloured red.
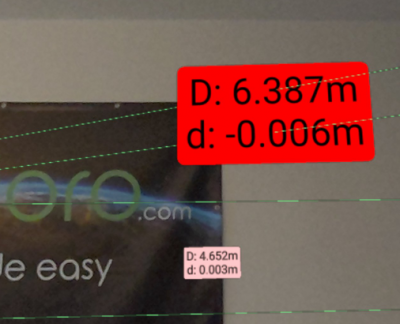
The line then not only shows the actual calculated distance Dbut also the difference to the measurement with (small) d is displayed.
This then looks like this:
Here you can see 2 different distances with a different difference to the distance actually measured:
- For the distance in the foreground, the difference is -6 mm, so the measurement is 6 mm shorter than the calculated value.
- The difference in the rear section is 3 mm, so the measurement is 3 mm longer than the calculated value.
These differences often occur when measuring diagonals between corners, as the corners are rounded by plaster or wallpaper.

